前回のThree.jsの記事からだいぶ時間が空いてしまいました。しかも前回前編とか銘打っているのにも関わらず、今回はジオメトリの変形について書きます、ゆひゃです。
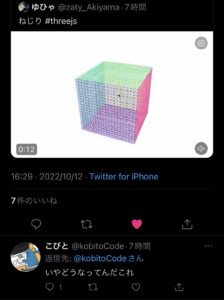
今回とある事情で3Dオブジェクトをひねってみたくなりまして、なんとなくツイートしたら、なんと「こびと」さんにご要望いただきました。(傲慢)
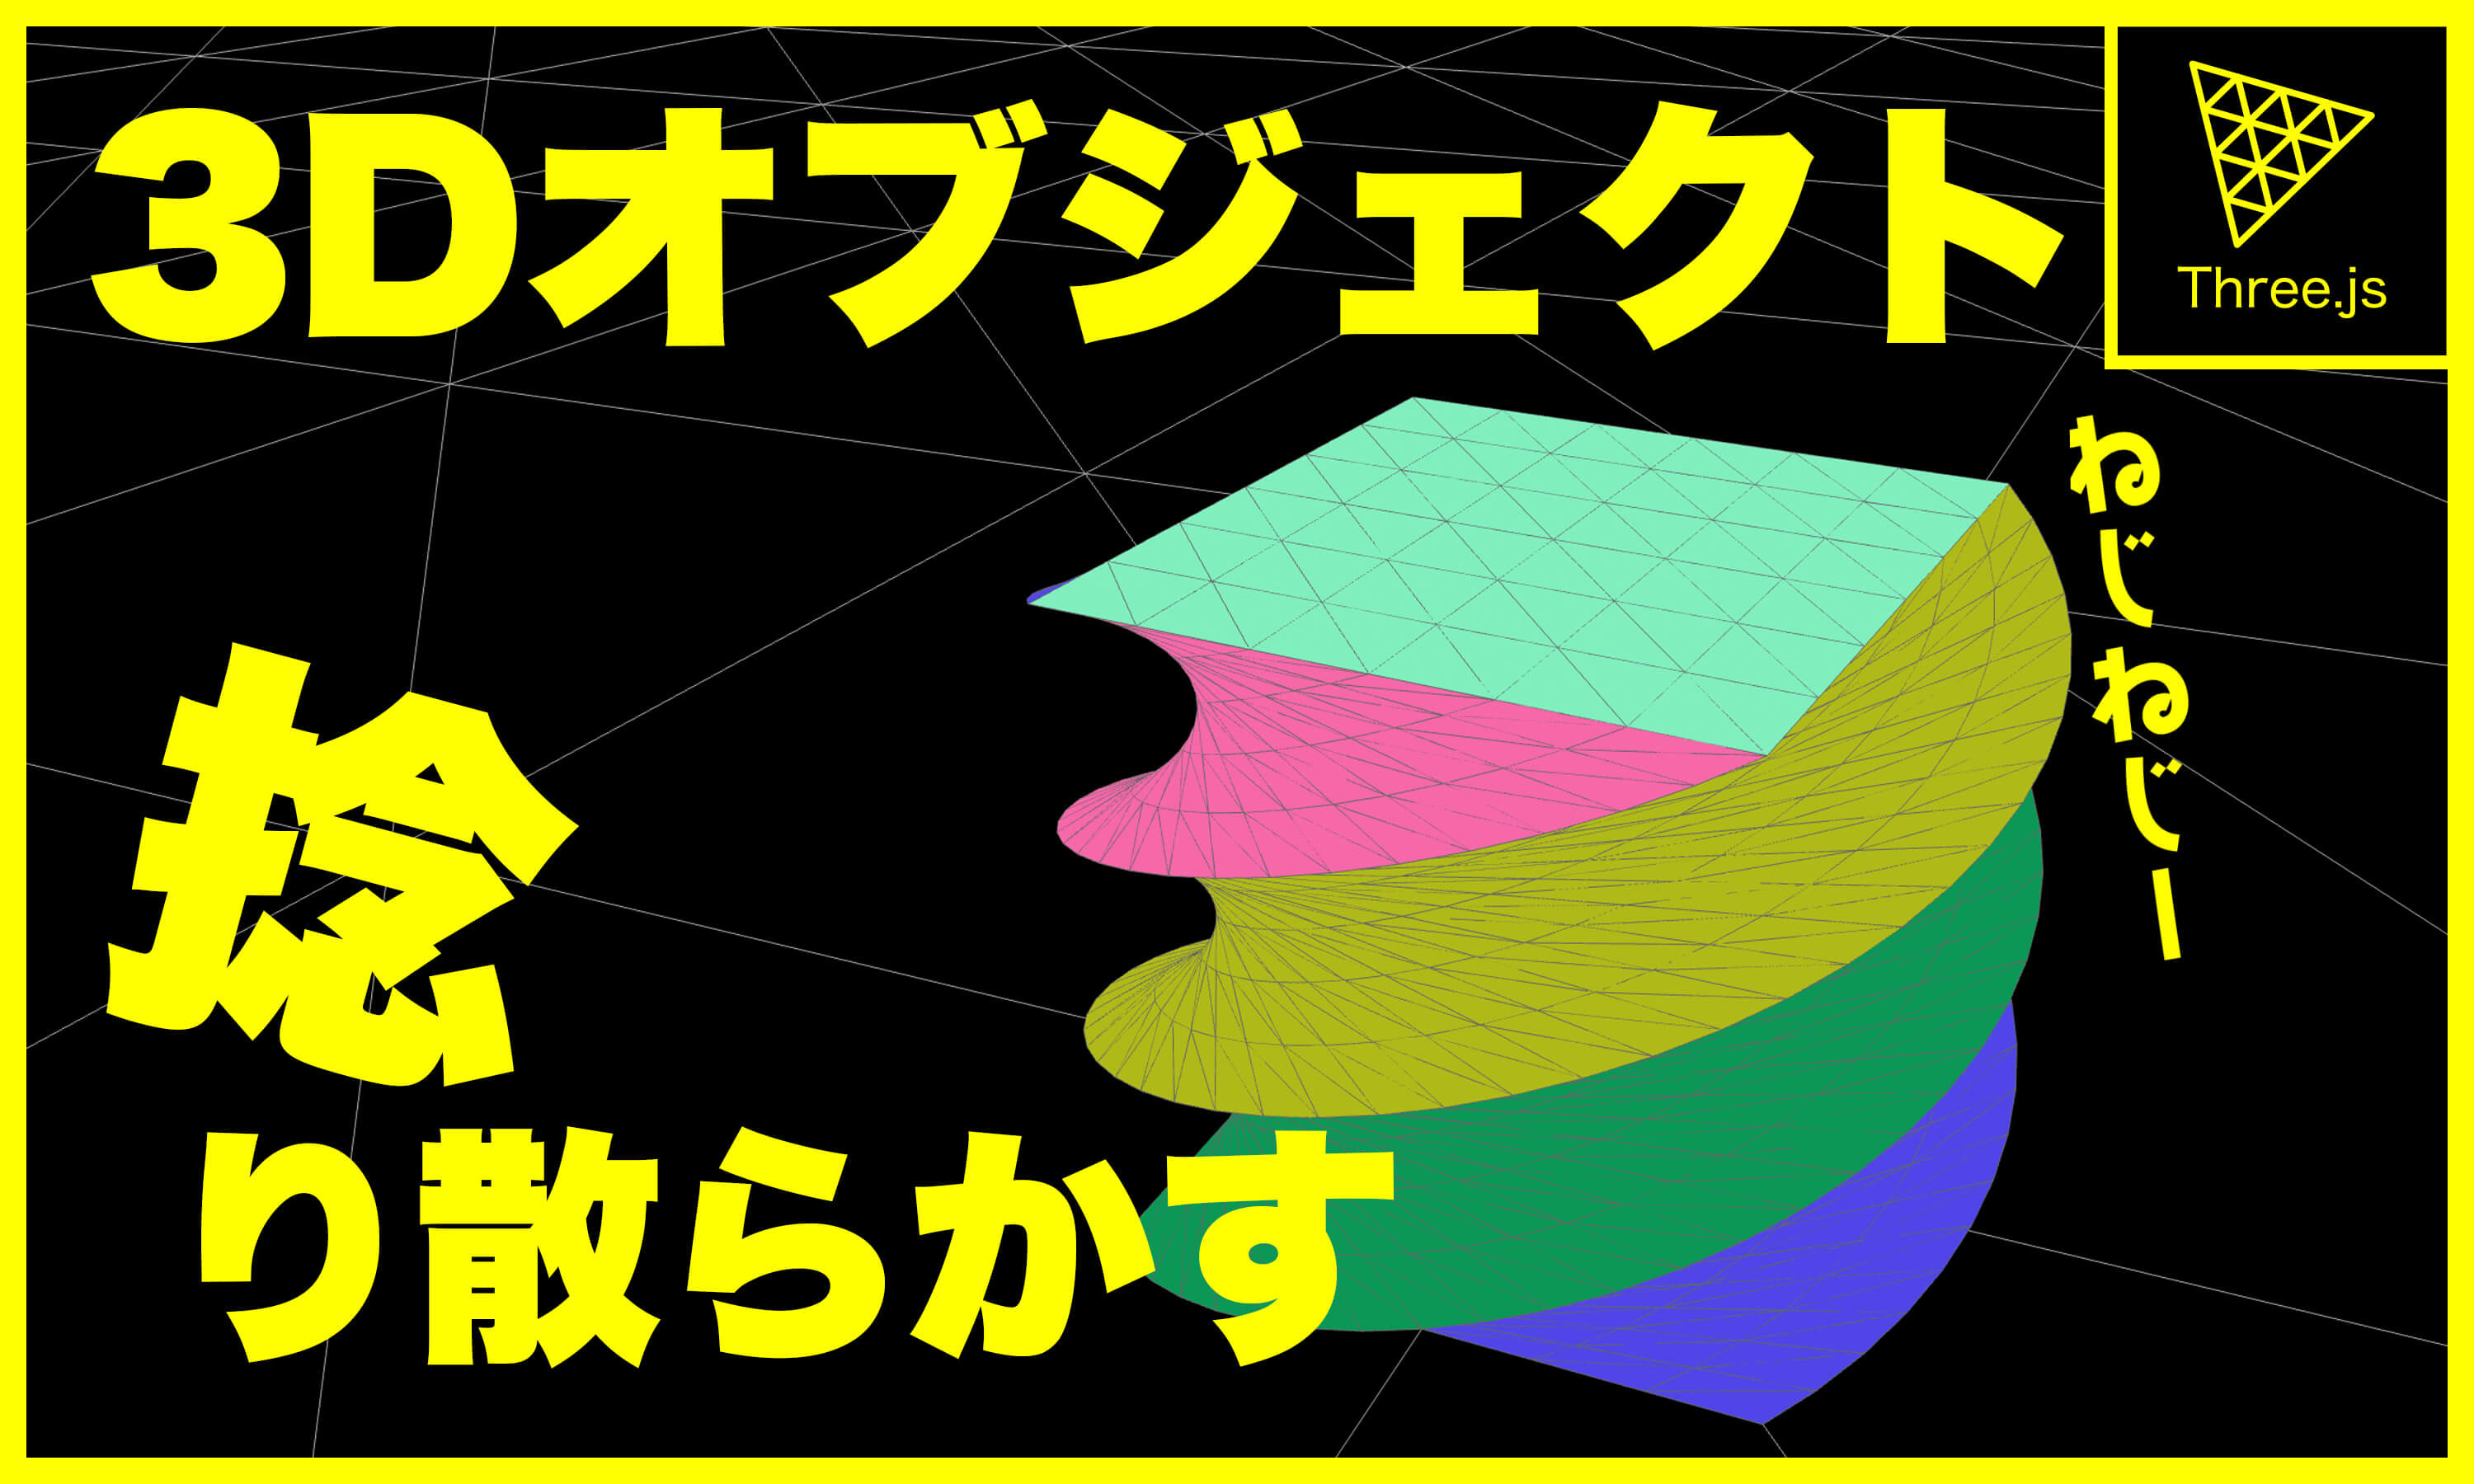
なので3Dオブジェクトをひねり散らかすコードを解説していこうと思います。
実際にひねってみる
Twitterにあげたのを少し改良して一番下が固定されてる感じにしてみました。
スマホでは少々操作しにくいかもしれません。今回は理論が分かれば良いので見逃してください。
マウスでひねって戻す時のアニメーションにTween.jsを使っています。
環境を用意する
まずは実際にひねるボックスを用意します。
import * as THREE from 'three'
import { Mesh, PerspectiveCamera, Scene, WebGLRenderer } from 'three'

const init = () => {

  const width = window.innerWidth
  const height = window.innerHeight

  const renderer = new WebGLRenderer({
    antialias: true,
    alpha: true
  })
  document.body.appendChild(renderer.domElement)
  renderer.setPixelRatio( window.devicePixelRatio )
  renderer.setSize( width, height )

  const scene = new Scene()

  const camera = new PerspectiveCamera( 45, width/height, .01, 10000 )
  camera.position.set( 20, 30, 50 )
  camera.lookAt(0,0,0)
  scene.add( camera )

  const length = 20
  const segment = 50
  const boxGeo = new THREE.BoxGeometry(length,length,length, segment,segment,segment)
  const boxMat = new THREE.MeshNormalMaterial()
  const box = new Mesh(boxGeo,boxMat)
  scene.add(box)

  const animate = delta => {
    requestAnimationFrame( animate )
    renderer.render( scene, camera )
  }
  animate()

}
init()
単純なボックスです。BoxGeometryのセグメントを多めに設定する必要があることに注意するくらいで、他は基本的なThree.jsのプログラムです。
ボックスのひねりかた
それではひねっていきます。
まずはマウス操作してひねるのではなく、ひねってある状態でボックスを表示してひねる方法を解説します。
import * as THREE from 'three'
import { Mesh, PerspectiveCamera, Scene, WebGLRenderer } from 'three'

const init = () => {

  const width = window.innerWidth
  const height = window.innerHeight

  const renderer = new WebGLRenderer({
    antialias: true,
    alpha: true
  })
  document.body.appendChild(renderer.domElement)
  renderer.setPixelRatio( window.devicePixelRatio )
  renderer.setSize( width, height )

  const scene = new Scene()

  const camera = new PerspectiveCamera( 45, width/height, .01, 10000 )
  camera.position.set( 20, 30, 50 )
  camera.lookAt(0,0,0)
  scene.add( camera )

  const length = 20
  const segment = 50
  const boxGeo = new THREE.BoxGeometry(length,length,length, segment,segment,segment)
  const boxMat = new THREE.MeshNormalMaterial()
  const box = new Mesh(boxGeo,boxMat)
  scene.add(box)

  /** 追記 */
  const firstPos = boxGeo.attributes.position.clone()

  const twist = geometry => {
    const quaternion = new THREE.Quaternion()

    const firstPosArray = firstPos.array
    const geoPosition = geometry.attributes.position
    for (let i = 0; i < firstPosArray.length; i=i+3) {
      const postionVector = new THREE.Vector3(firstPosArray[i],firstPosArray[i+1],firstPosArray[i+2])

      const upVec = new THREE.Vector3(0, 1, 0)

      quaternion.setFromAxisAngle(
        upVec,
        (Math.PI / 180) * (postionVector.y + 10) * 3
      )

      postionVector.applyQuaternion(quaternion)
      geoPosition.array[i] = postionVector.x
      geoPosition.array[i+1] = postionVector.y
      geoPosition.array[i+2] = postionVector.z
    }
    geoPosition.needsUpdate = true
  }
  twist(boxGeo)

  const animate = delta => {
    requestAnimationFrame( animate )
    renderer.render( scene, camera )
  }
  animate()

}
init()
ひねる処理をtwistという関数でまとめました。この関数の処理を簡単に説明すると、ボックスジオメトリの頂点データをy軸を中心軸に回転させる処理です。回転方法をクォータニオンを採用しています。
それでは細かくプログラムを解説していきます。
const firstPos = boxGeo.attributes.position.clone()まずはtwist関数を定義する前に、boxGeoの初期頂点情報を複製しておきます。
以前解説した通り全てのジオメトリはBufferGeometryがベースとなっており、その頂点情報は、geometry.attributes.position.arrayに格納されています。
詳しくはこちらの記事で解説しています。
twist関数は引数にgeometryを指定することで、引数に渡したジオメトリをひねる処理にします。
const quaternion = new THREE.Quaternion()まずはquaternion(クォータニオン)をインスタンス化します。今回はこのquaternionを使って回転するわけですが、回転方法は回転軸を指定して、角度を指定する一番シンプルな回転方法で回転させます。
rotationで回転させることとの大きな違いは回転軸を一定の場所に固定できる(しやすい)ことです。
const firstPosArray = firstPos.arrayここで初期値の頂点データが格納されている配列を変数にしておきます。
const geoPosition = geometry.attributes.positionこれは今表示されているオブジェクトの頂点の位置オブジェクトを変数に代入しておきます。後でオブジェクトを変更する時に使います。
for (let i=0; i < position.length; i=i+3) {

...

}
ここは頂点の座標を変更するためのループ処理をします。
positionには、[x,y,z,x,y,z,....]の順で座標が格納されています。なのでiを3個飛ばしにループさせることで、iがx座標,i+1がy座標,i+2がz座標としてアクセスすることができるようになります。
それを全頂点分繰り返します。
const positionVector = new THREE.Vector3(firstPosArray[i], firstPosArray[i+1], firstPosArray[i+2])初期時のgeometryの頂点座標をVector3としてインスタンス化します。
quaternionでの回転を適用させるために頂点座標をVector3とする必要があります。
const upVec = new THREE.Vector3(0, 1, 0)回転軸を設定します。y軸です。
  quaternion.setFromAxisAngle(
    upVec,
    (Math.PI / 180) * (positionVector.y + 10) * 3
  )
quaternionの回転です。setFromAxisAngleという名前の通り、第一引数に軸のベクトル、第二引数に回転角度を指定することで、回転情報が更新されます。
注目するポイントは第二引数のpositionVector.yの部分です。
ここにはその頂点のy座標が入るわけですが、座標の大きさによって第二引数全体の大きさが変わります。yが小さいときは全体が0になり、yが大きくなるにつれて角度が大きくなっていきます。
第二引数、最後の3はひねり具合の設定です。後にマウスで変更する際にはここの値を変数として変更することでひねったり戻したりします。
これによって「ひねり」を表現することができます。
positionVector.applyQuaternion(quaternion)applyQuaternionメソッドを使うことで、positionVectorの座標を回転情報分適用させることができます。
  geoPosition.array[i]   = positionVector.x
  geoPosition.array[i+1] = positionVector.y
  geoPosition.array[i+2] = positionVector.z
ここで実際に表示されているオブジェクトジオメトリの頂点情報を更新しています。
これで回転の処理は終わりました。
geoPosition.needsUpdate = truefor文を抜けた後、この設定を必ずします。
Meshしてrender()した後では、デフォルト状態でgeometryの頂点情報を更新しても表示されているオブジェクトは変更されないようになっています。
今回のコードではrenderer.render()の前にtwist()を呼び出しているのでなくても変更することができますが、マウスで変更する際にはrender()後にtwist()を呼び出すことになります。
なのでこの設定がないと動かない状態になってしまうわけですね。この設定はrender()の度にfalseになってしまうのでtwist関数の内部で設定する必要があります。
これでオブジェクトをひねることができるようになりました!
マウスで動かせるようにする
これに関しては正直Three.jsとして特別なことはしないので、コードの紹介のみに留めておきます。
import * as THREE from 'three'
import { Mesh, PerspectiveCamera, Scene, WebGLRenderer } from 'three'

import * as TWEEN from '@tweenjs/tween.js'

const init = () => {

  const width = window.innerWidth
  const height = window.innerHeight

  const renderer = new WebGLRenderer({
    antialias: true,
    alpha: true
  })
  document.body.appendChild(renderer.domElement)
  renderer.setPixelRatio( window.devicePixelRatio )
  renderer.setSize( width, height )

  const scene = new Scene()

  const camera = new PerspectiveCamera( 45, width/height, .01, 10000 )
  camera.position.set( 20, 30, 50 )
  camera.lookAt(0,0,0)
  scene.add( camera )

  const length = 20
  const segment = 50
  const boxGeo = new THREE.BoxGeometry(length,length,length, segment, segment, segment)
  const boxMat = new THREE.MeshNormalMaterial()
  const box = new Mesh(boxGeo,boxMat)
  scene.add(box)

  const twistAmount = {value: 0.0}
  const firstPos = boxGeo.attributes.position.clone()

  const twist = geometry => {
    const quaternion = new THREE.Quaternion()

    const posArray = firstPos.array
    const geoPosition = geometry.attributes.position
    for (let i = 0; i < firstPos.count*3; i=i+3) {
      const postionVector = new THREE.Vector3(posArray[i],posArray[i+1],posArray[i+2])

      const upVec = new THREE.Vector3(0, 1, 0)

      quaternion.setFromAxisAngle(
        upVec,
        (Math.PI / 180) * ((postionVector.y + 10) * twistAmount.value)
      )

      postionVector.applyQuaternion(quaternion)
      geoPosition.array[i]   = postionVector.x
      geoPosition.array[i+1] = postionVector.y
      geoPosition.array[i+2] = postionVector.z
    }
    geoPosition.needsUpdate = true
  }

  let start = 0.0
  let onDown = false
  window.addEventListener('pointerdown', e => {
    if( onDown ) return
    start = e.clientX
    onDown = true
  })
  window.addEventListener('pointermove', e => {
    if( !onDown ) return
    const delta = e.clientX - start
    start = e.clientX
    twistAmount.value += delta * .01
    twist(boxGeo)
  })
  window.addEventListener('pointerup', () => {
    new TWEEN.Tween(twistAmount)
      .to( { value: 0.0 }, 1000)
      .easing(TWEEN.Easing.Elastic.Out)
      .onUpdate(()=>{
        twist(boxGeo)
      })
      .start()
      .onComplete(() => {
        onDown = false
      })
  })

  const animate = delta => {
    requestAnimationFrame( animate )

    TWEEN.update(delta)

    renderer.render( scene, camera )
  }
  animate()

}
init()
最後のアニメーション処理でTween.jsの構文がありますが、一般的なTWEENアニメーションとそんなに違いはないので問題ないと思います。
世の中はGsapの勢いが強いですが、なんとなくTween.jsが好きなのでこっちを採用しました。
まとめ
これで冒頭に紹介したひねるボックスを作ることができました。
マウスでの操作部分はビジュアル的に即興で作ったので、Tweenアニメーション中に再度ひねることができなかったりもっと改良はできると思いますが、今回の目的とは異なるのでこの辺にしておこうと思いました。
今回のアニメーションは、BufferGeometryの知識とquaternionの知識を使う必要があるので直感的ではなかったかもしれません。
シェーダーを使うことでも同様の動きを再現できるかもしれません。とりあえずは満足いく動きになってよかったです。
もし記事内のコードにタイポなどがあればTwitterにて報告お願いします。